Sharing Teams Recordings
After your recordings are saved, you can share them with your class or fellow colleagues. If you have not already located your recordings, please refer to the “Locating Teams Recordings” section before following this.
Step 1
After you have located the needed recording, open the video settings page.
From Onedrive:
Step 1
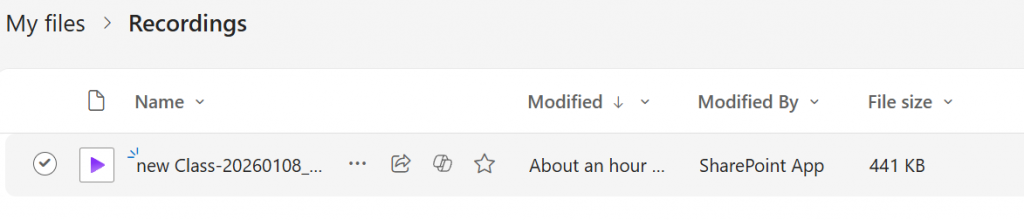
You can access ALL recordings (including class recordings) by locating the “Recordings” folder inside the “My files” directory.

Step 2
You will see all the videos listed here
Step 3
Once you have located the video in the list , click on the video’s name to access settings and to be able to share or edit.

From Brightspace:
If you are searching for class recordings, it is best to access them from with in Brightspace to get the correct recording. Personal recordings outside of Brightspace classes will not show here.
Step 1
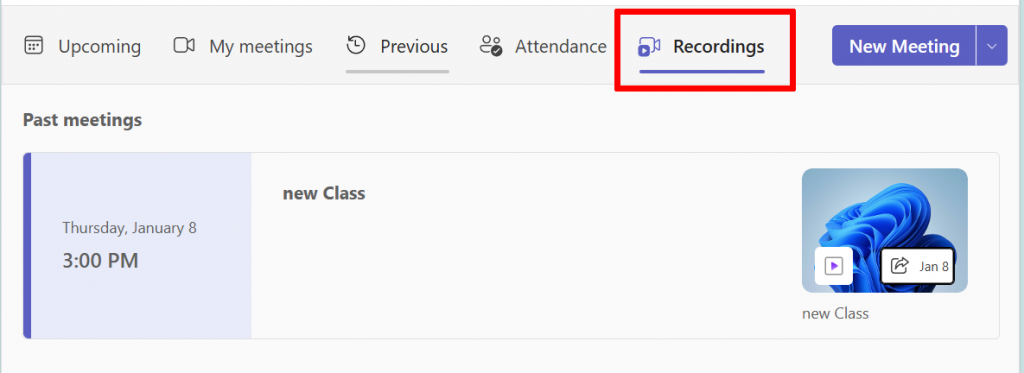
After selecting the correct course, click on “teams” then click on the “Recordings” tab.
Step 2
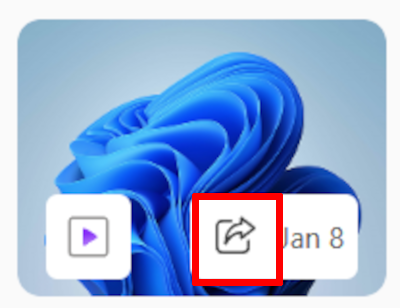
Click on the sharing icon (the box with the arrow) to be taken directly to the video in your OneDrive.
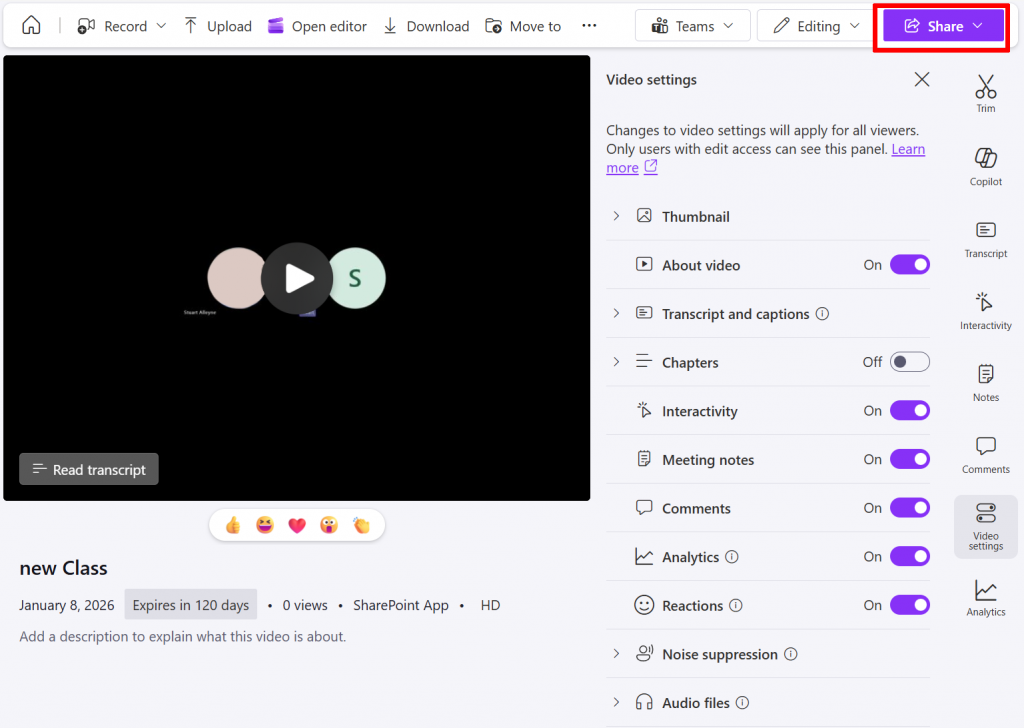
Step 2
Once the video settings page is open, click on the sharing Button.
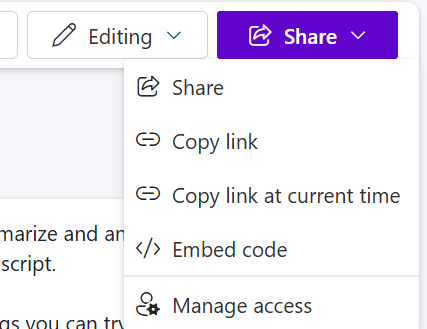
Step 3
Select your preferred sharing option. However, It is recommended to use the “Copy link” option.
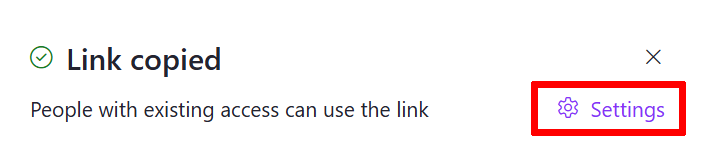
Step 4
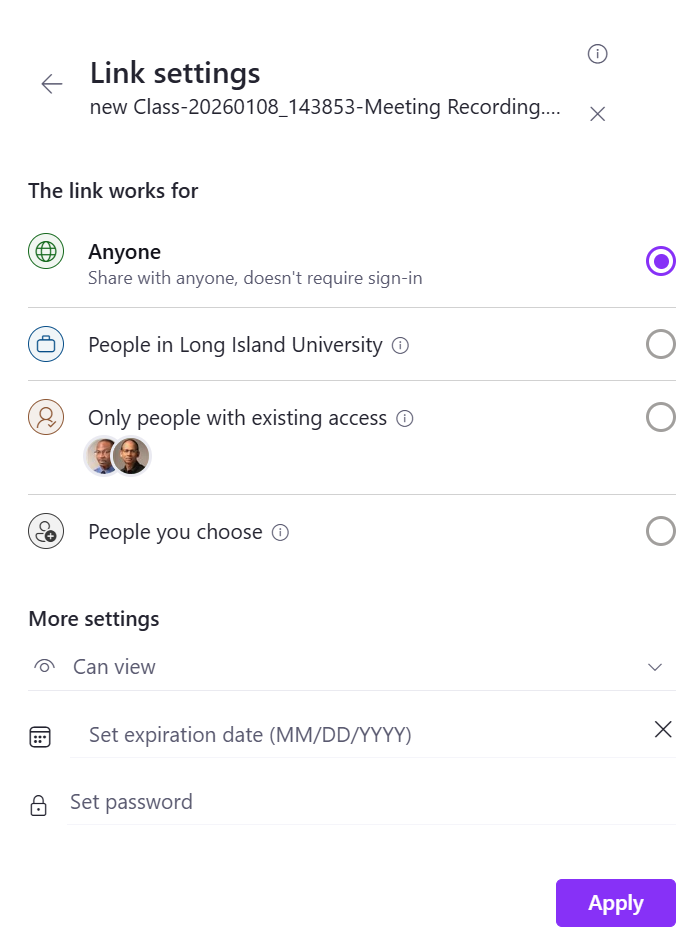
Once the link get’s coped, you can click on the “Settings” to manage the options for your shared link. Unless the video is for a specific person, it is recommended to either use either “Anyone” or “People in Long Island University.” Then click “Apply.”
Step 5
Past the link in an email. Brightspace users skip to the next step and continue.
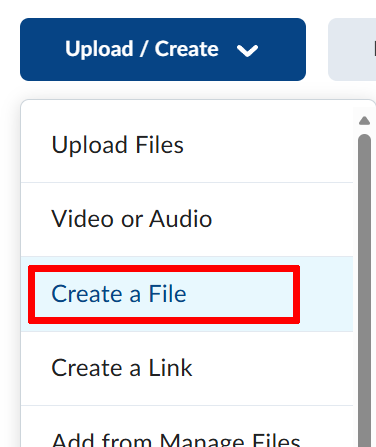
Step 6
In Brightspace, select the appropriate module in a course for your recordings or make a new one. Then select “Upload/Create” and choose “Create a File.”
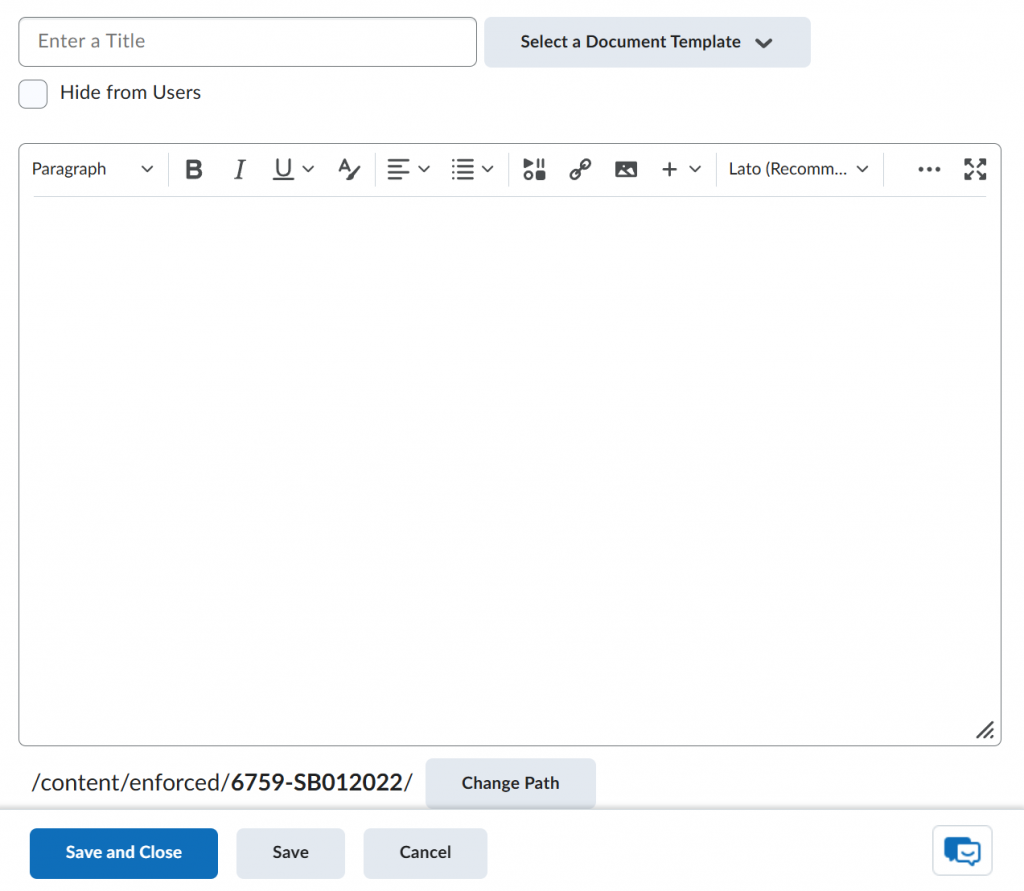
Step 7
Paste the link in the content area and give it a title. Then click “Save and close”